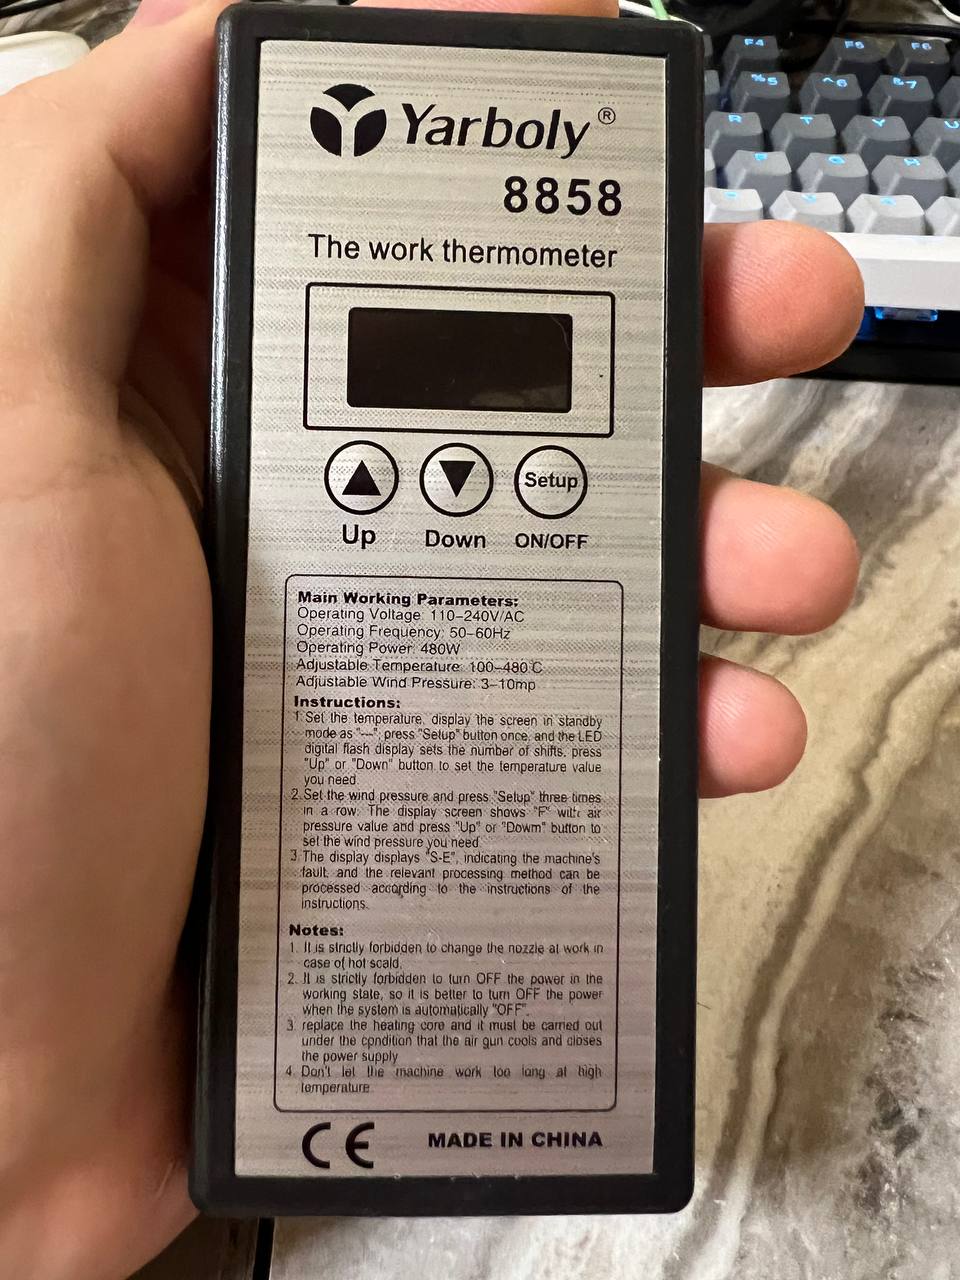
It’s really cheap hot air gun — it costs around 15$ without delivery, it’s small and it works 🙂 But it has some temperature instability and thermocouple is not linear so if calibrate it for example at 330 degrees, temperature at 200 degrees can be wrong. And for fun I decided to try to replace temperature controller and display with something more interesting 🙂 This post is about original hardware.
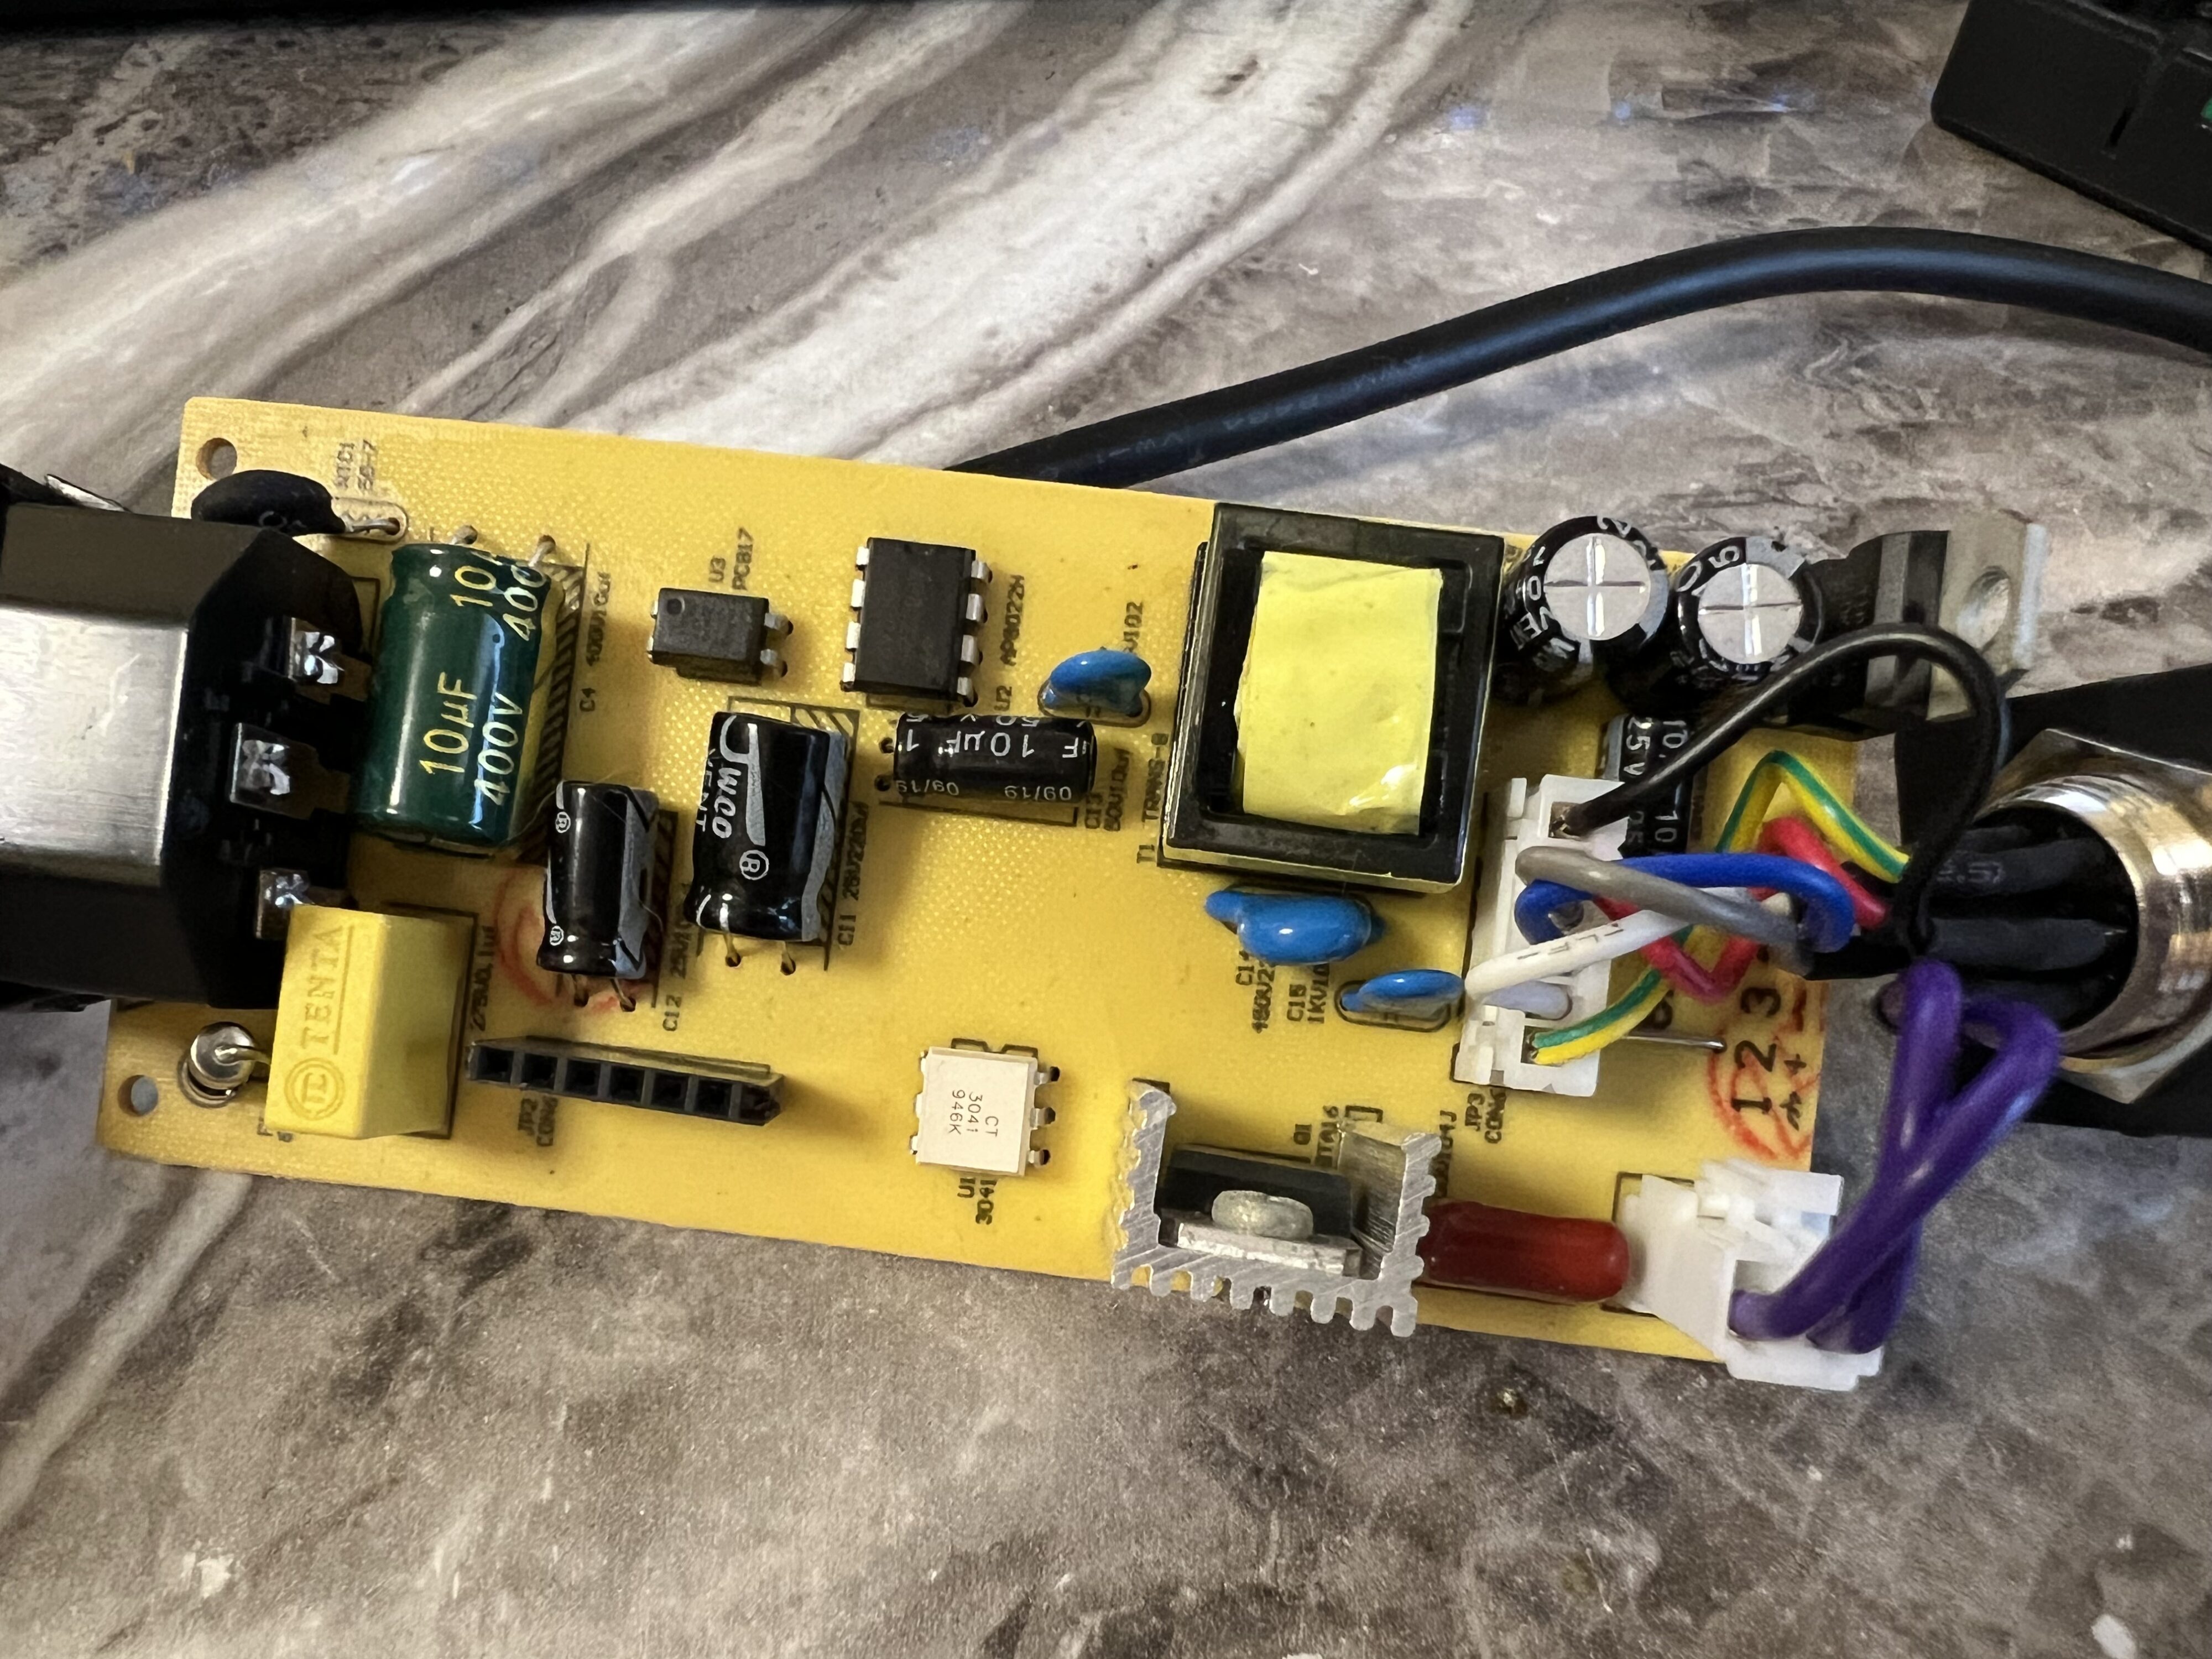
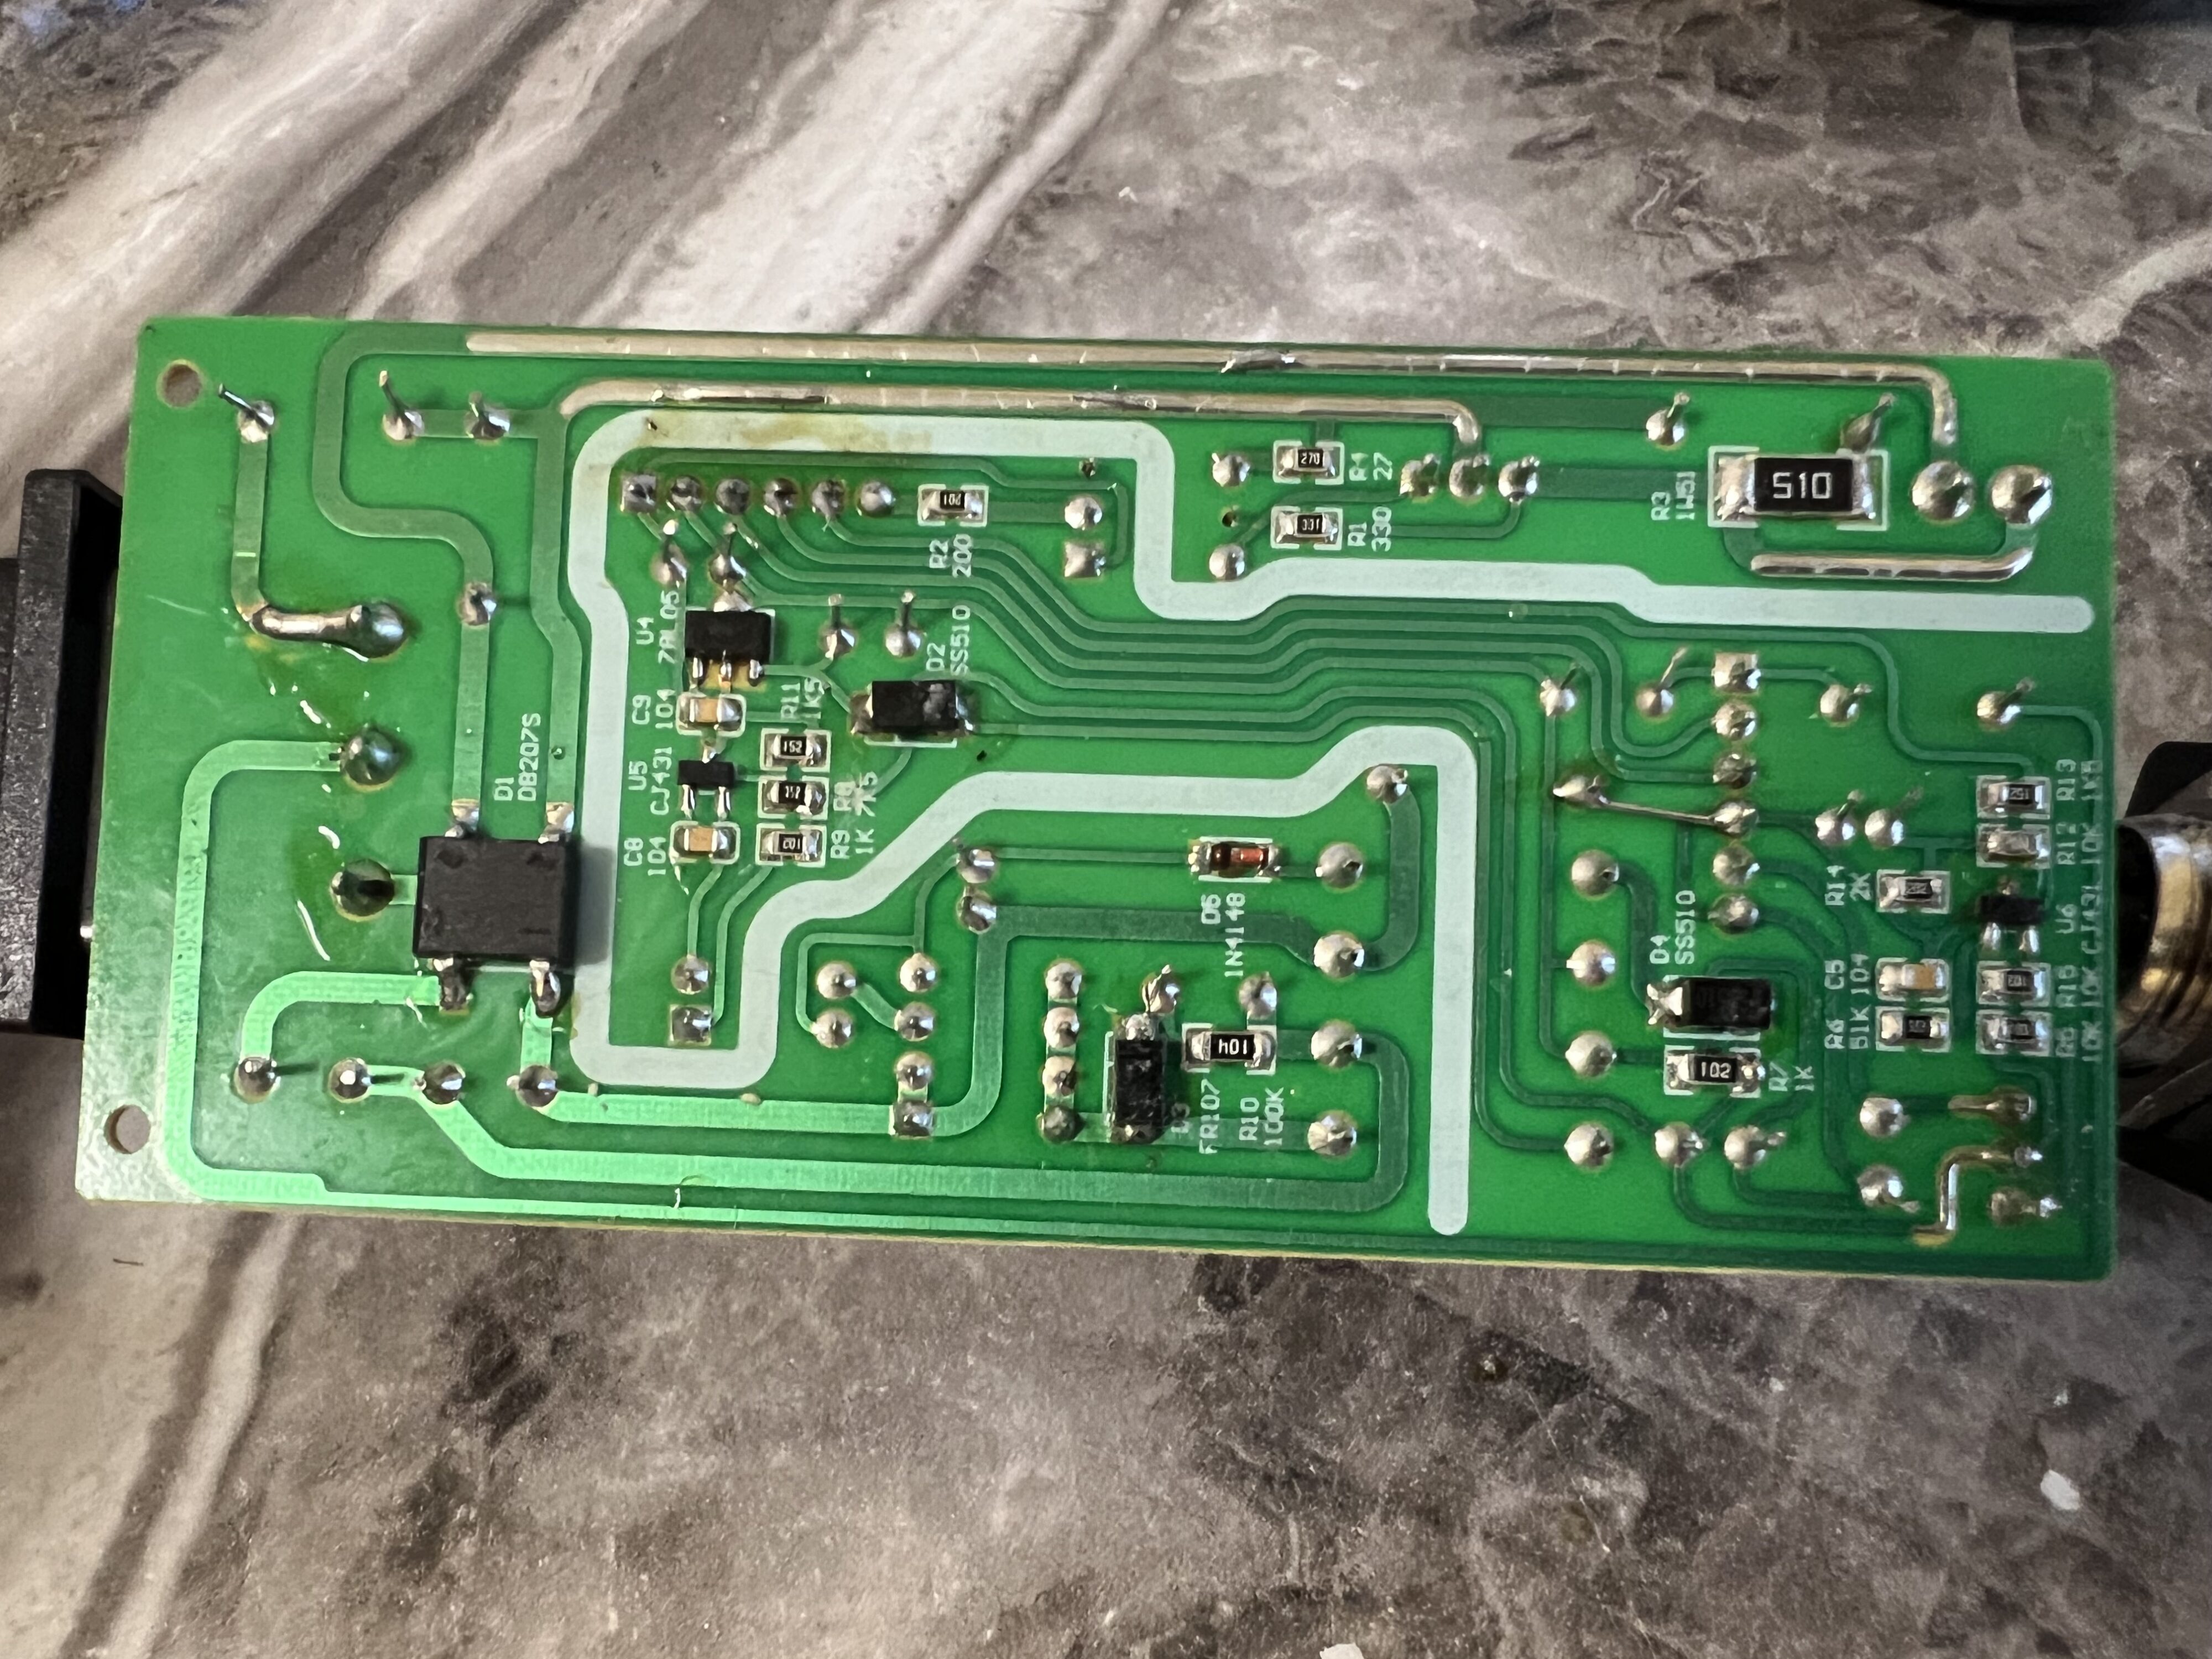
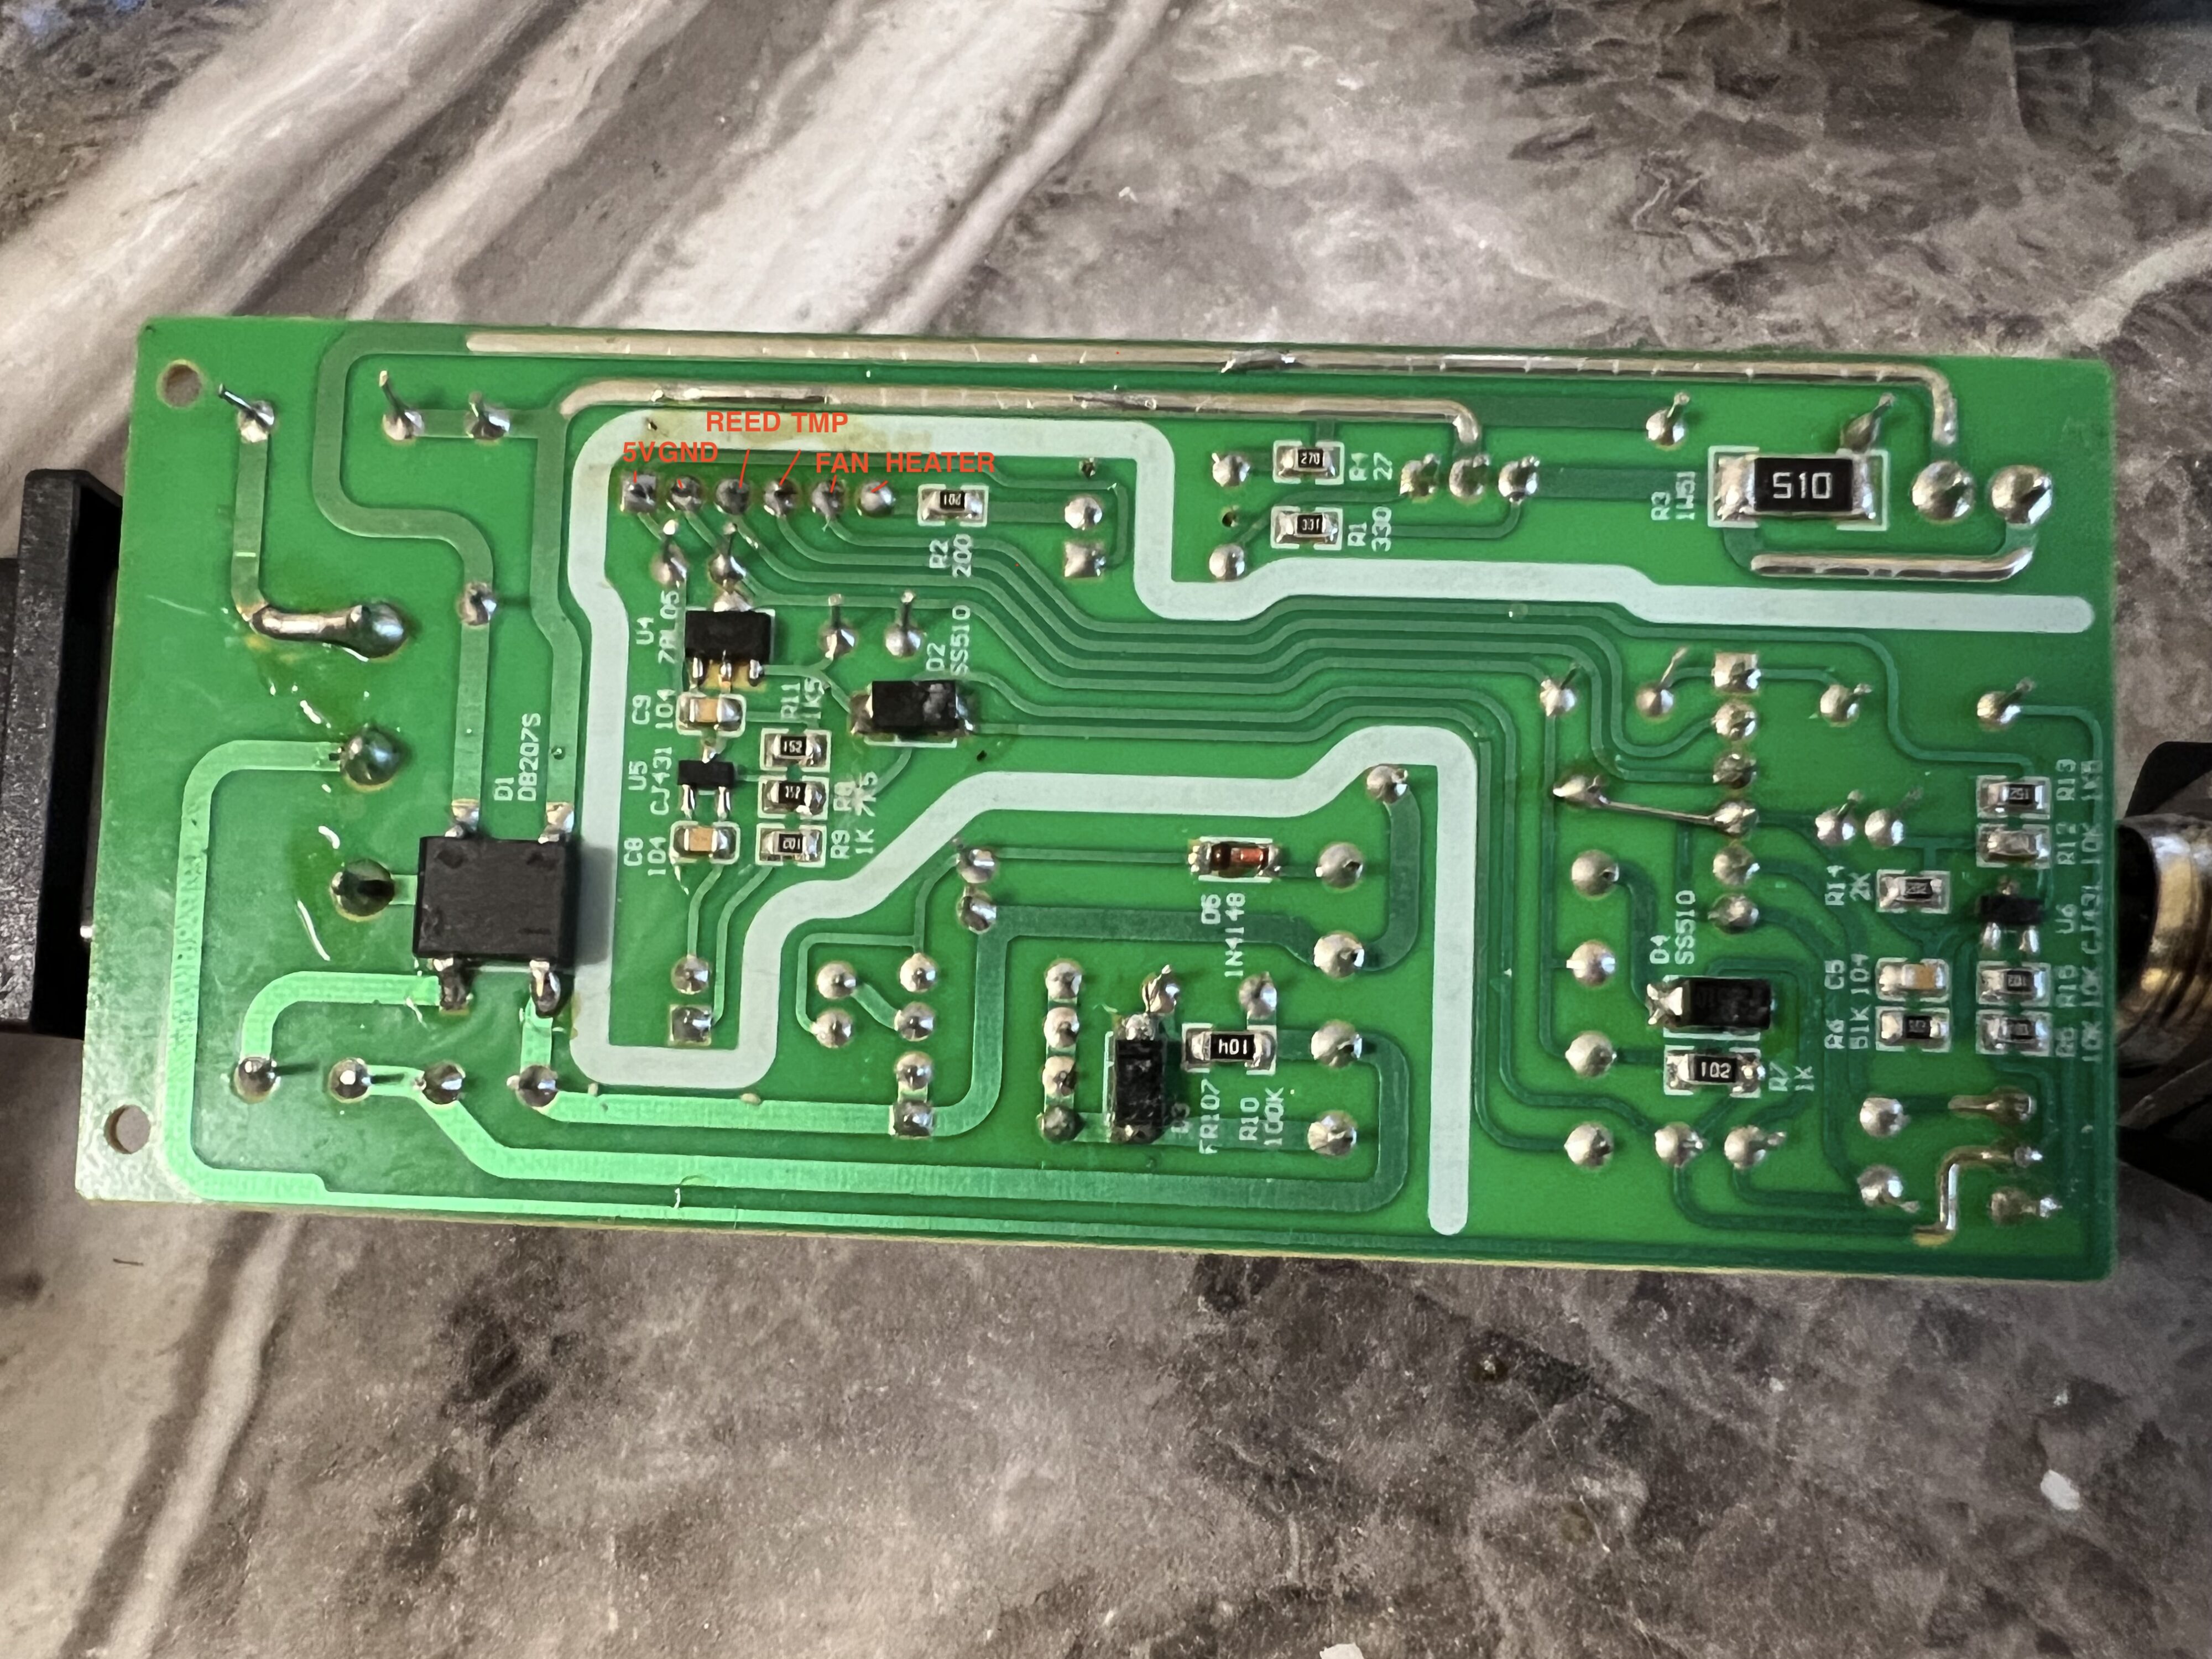
Main PCB. I’ve not found any schematics and I don’t need — it’s pretty simple. As i see it has switching power supply for 5v for controller, 12v for fan. The heater is controlled by triac with radiator (one line from power socket connected directly and one through triac). Fan is controlled by PWM through darlington transistor on the right top corner. Switching PSU controller by PWM controller on the middle top at the right after optocouple.
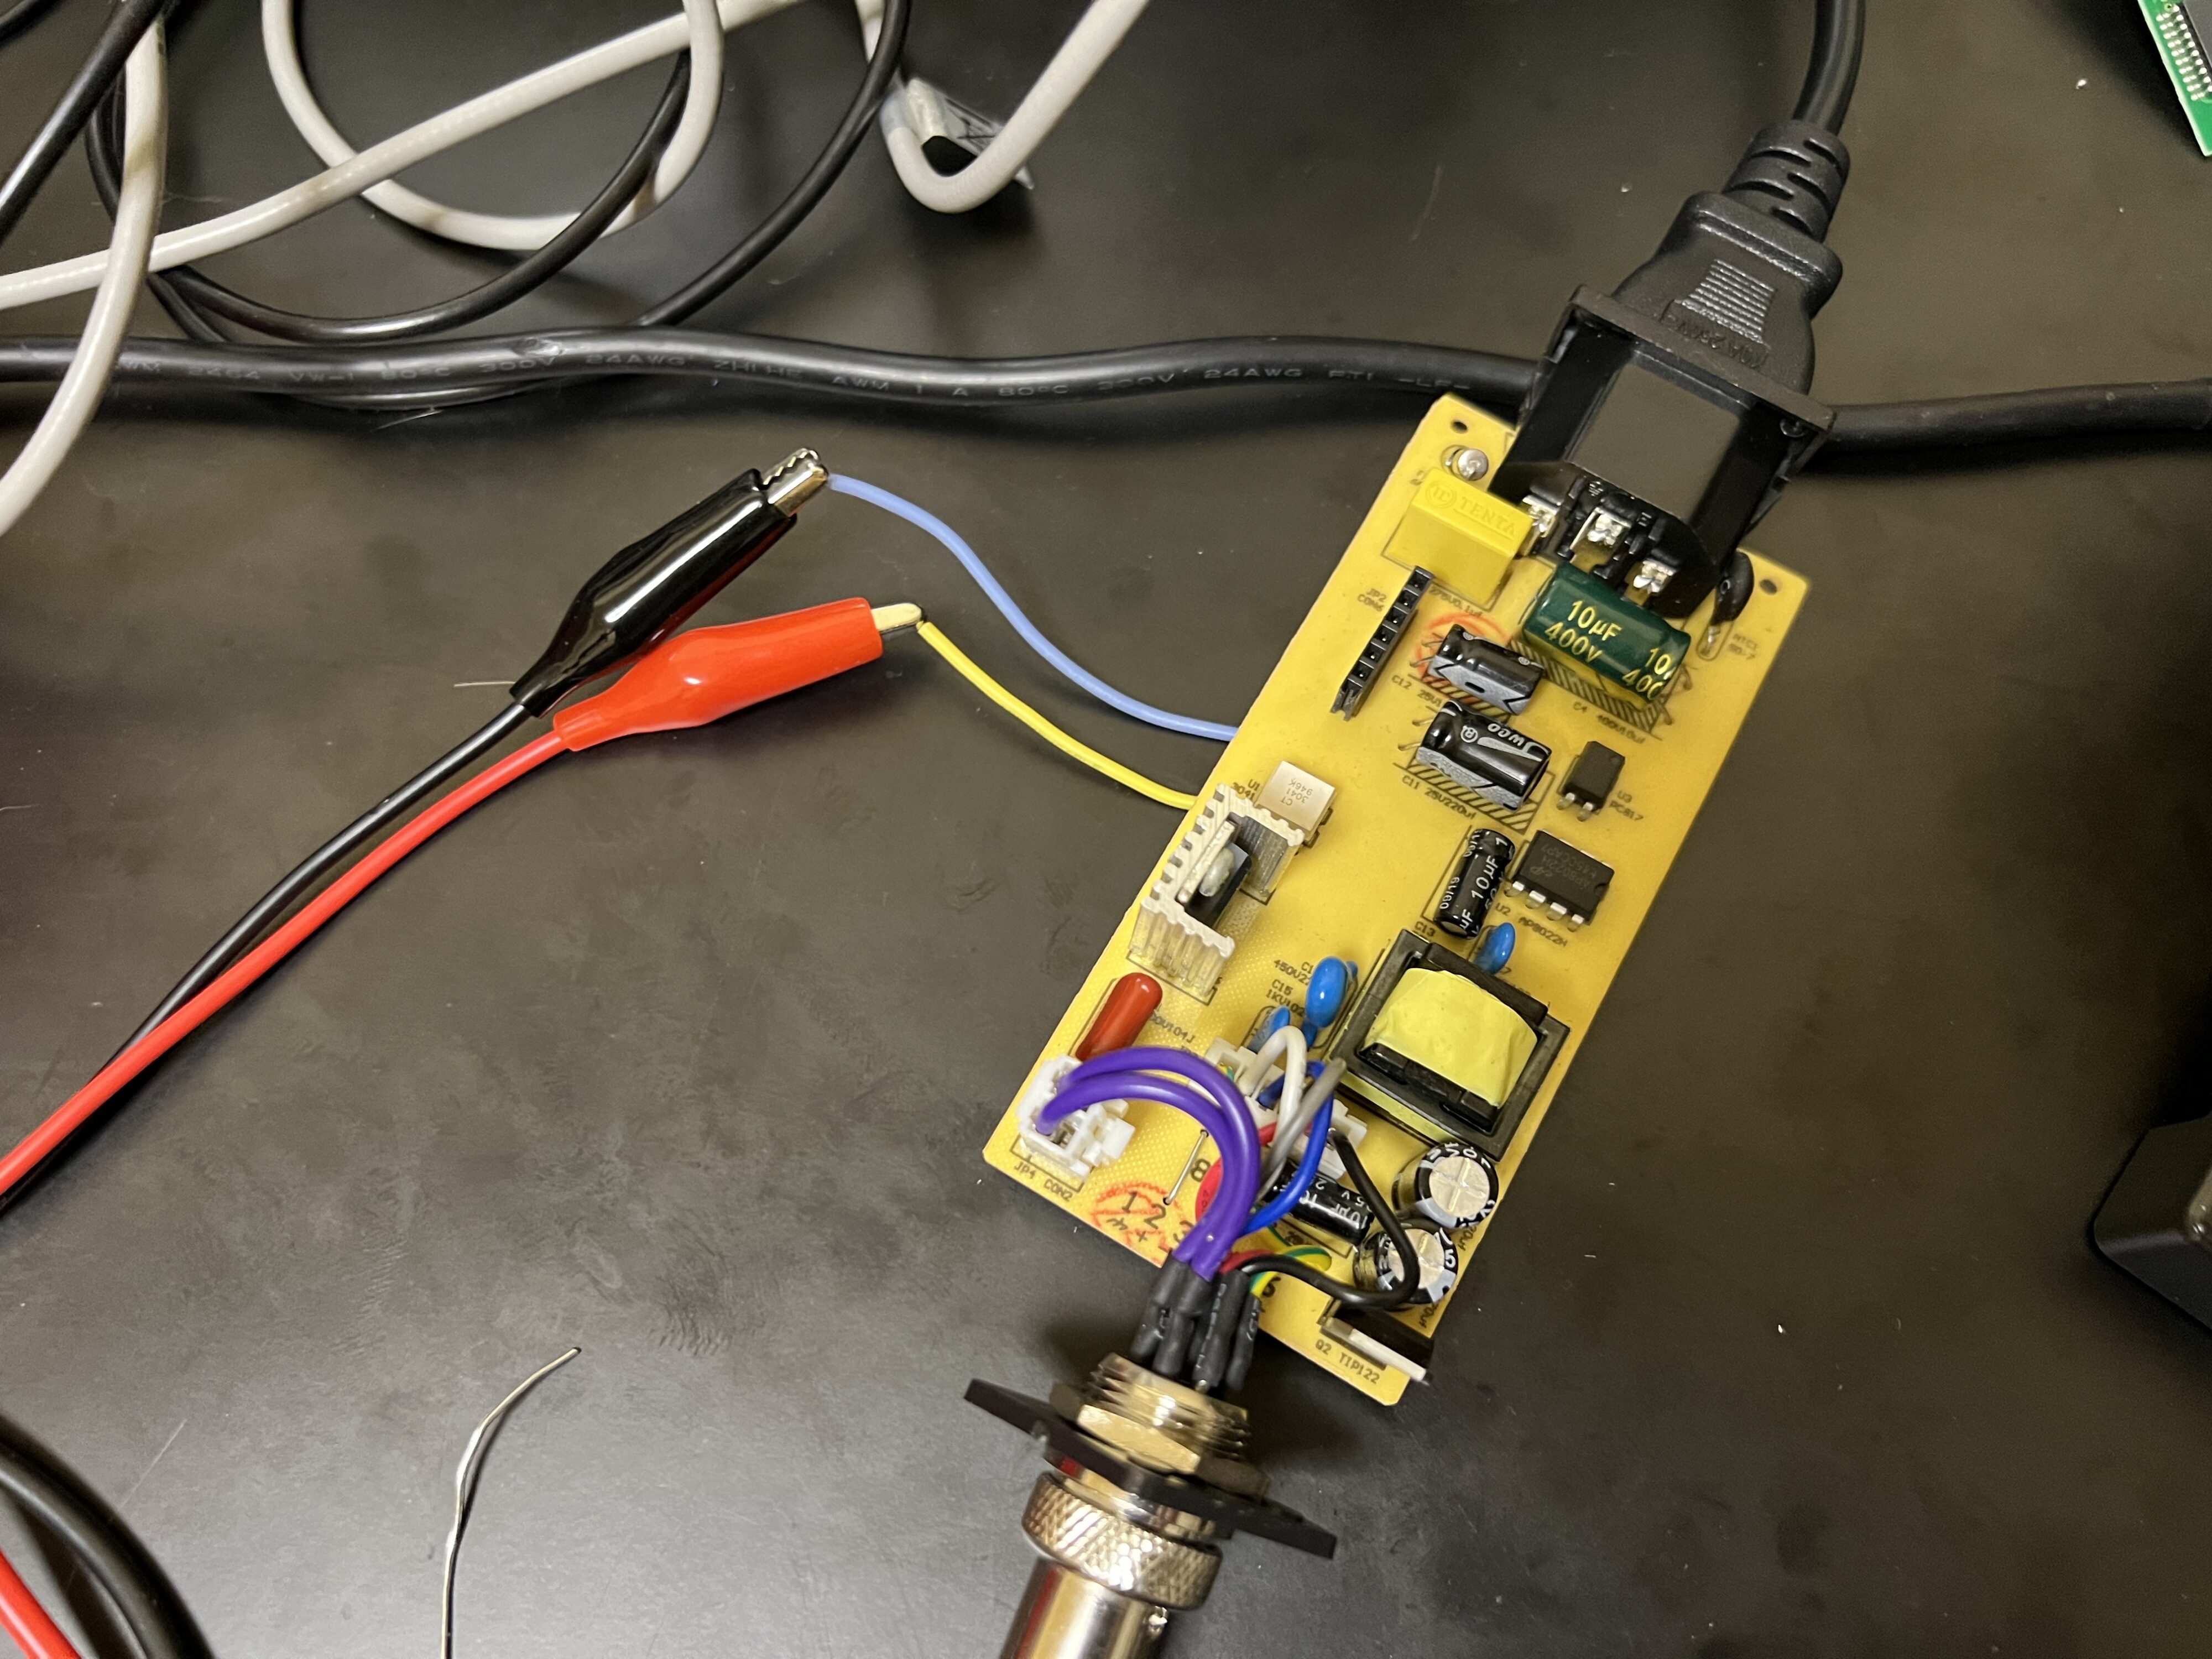
To figure out which output for which device I was just checked it by oscilloscope. Fan and heater outputs from controller (don’t mind voltage, forgot to switch probe):
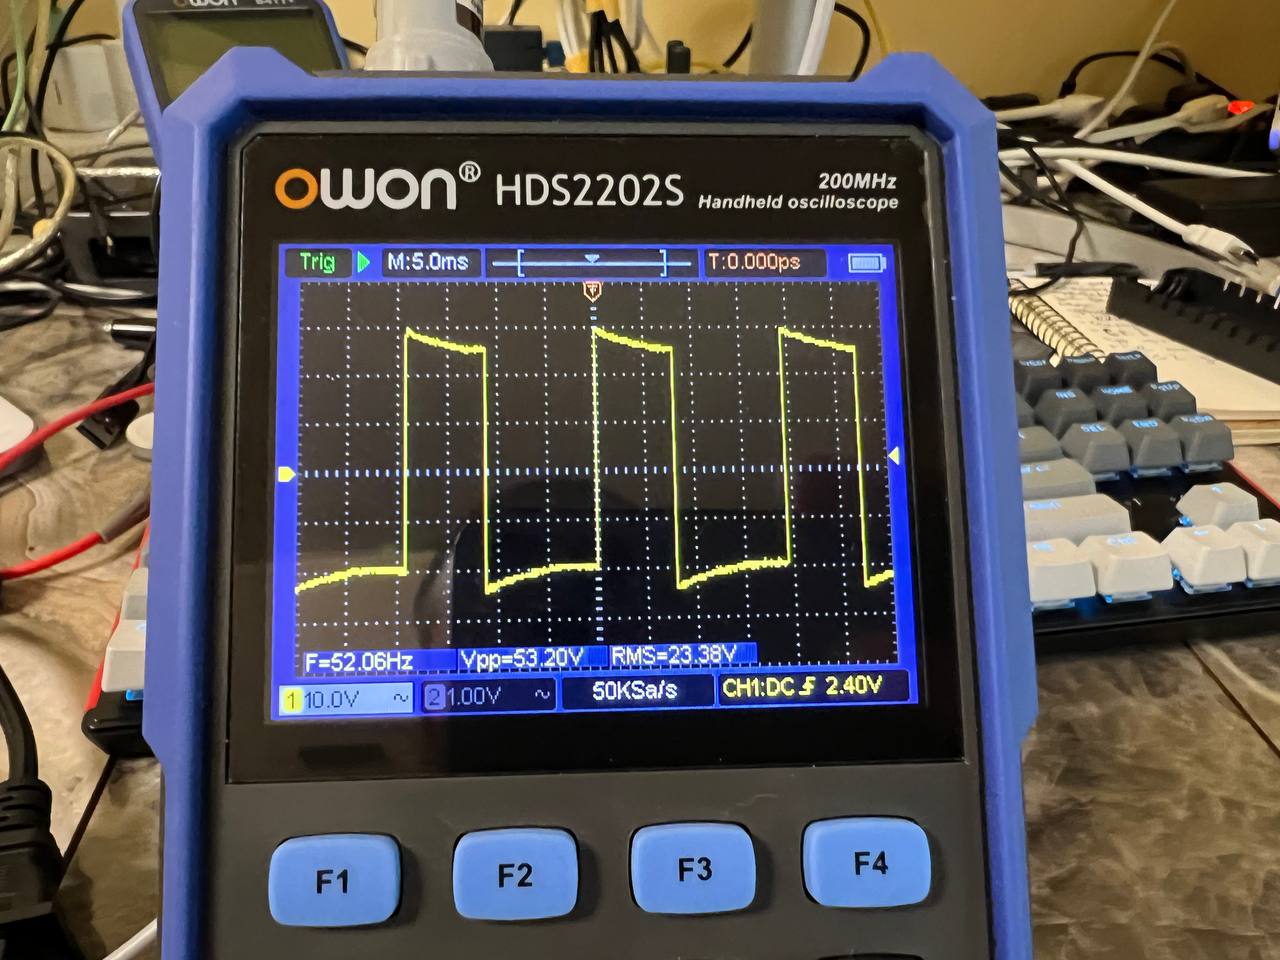

Testing control by signal generator:
Bottom — diode bridge, 5v linear regulator and some additional details, like diodes, resistors etc…:
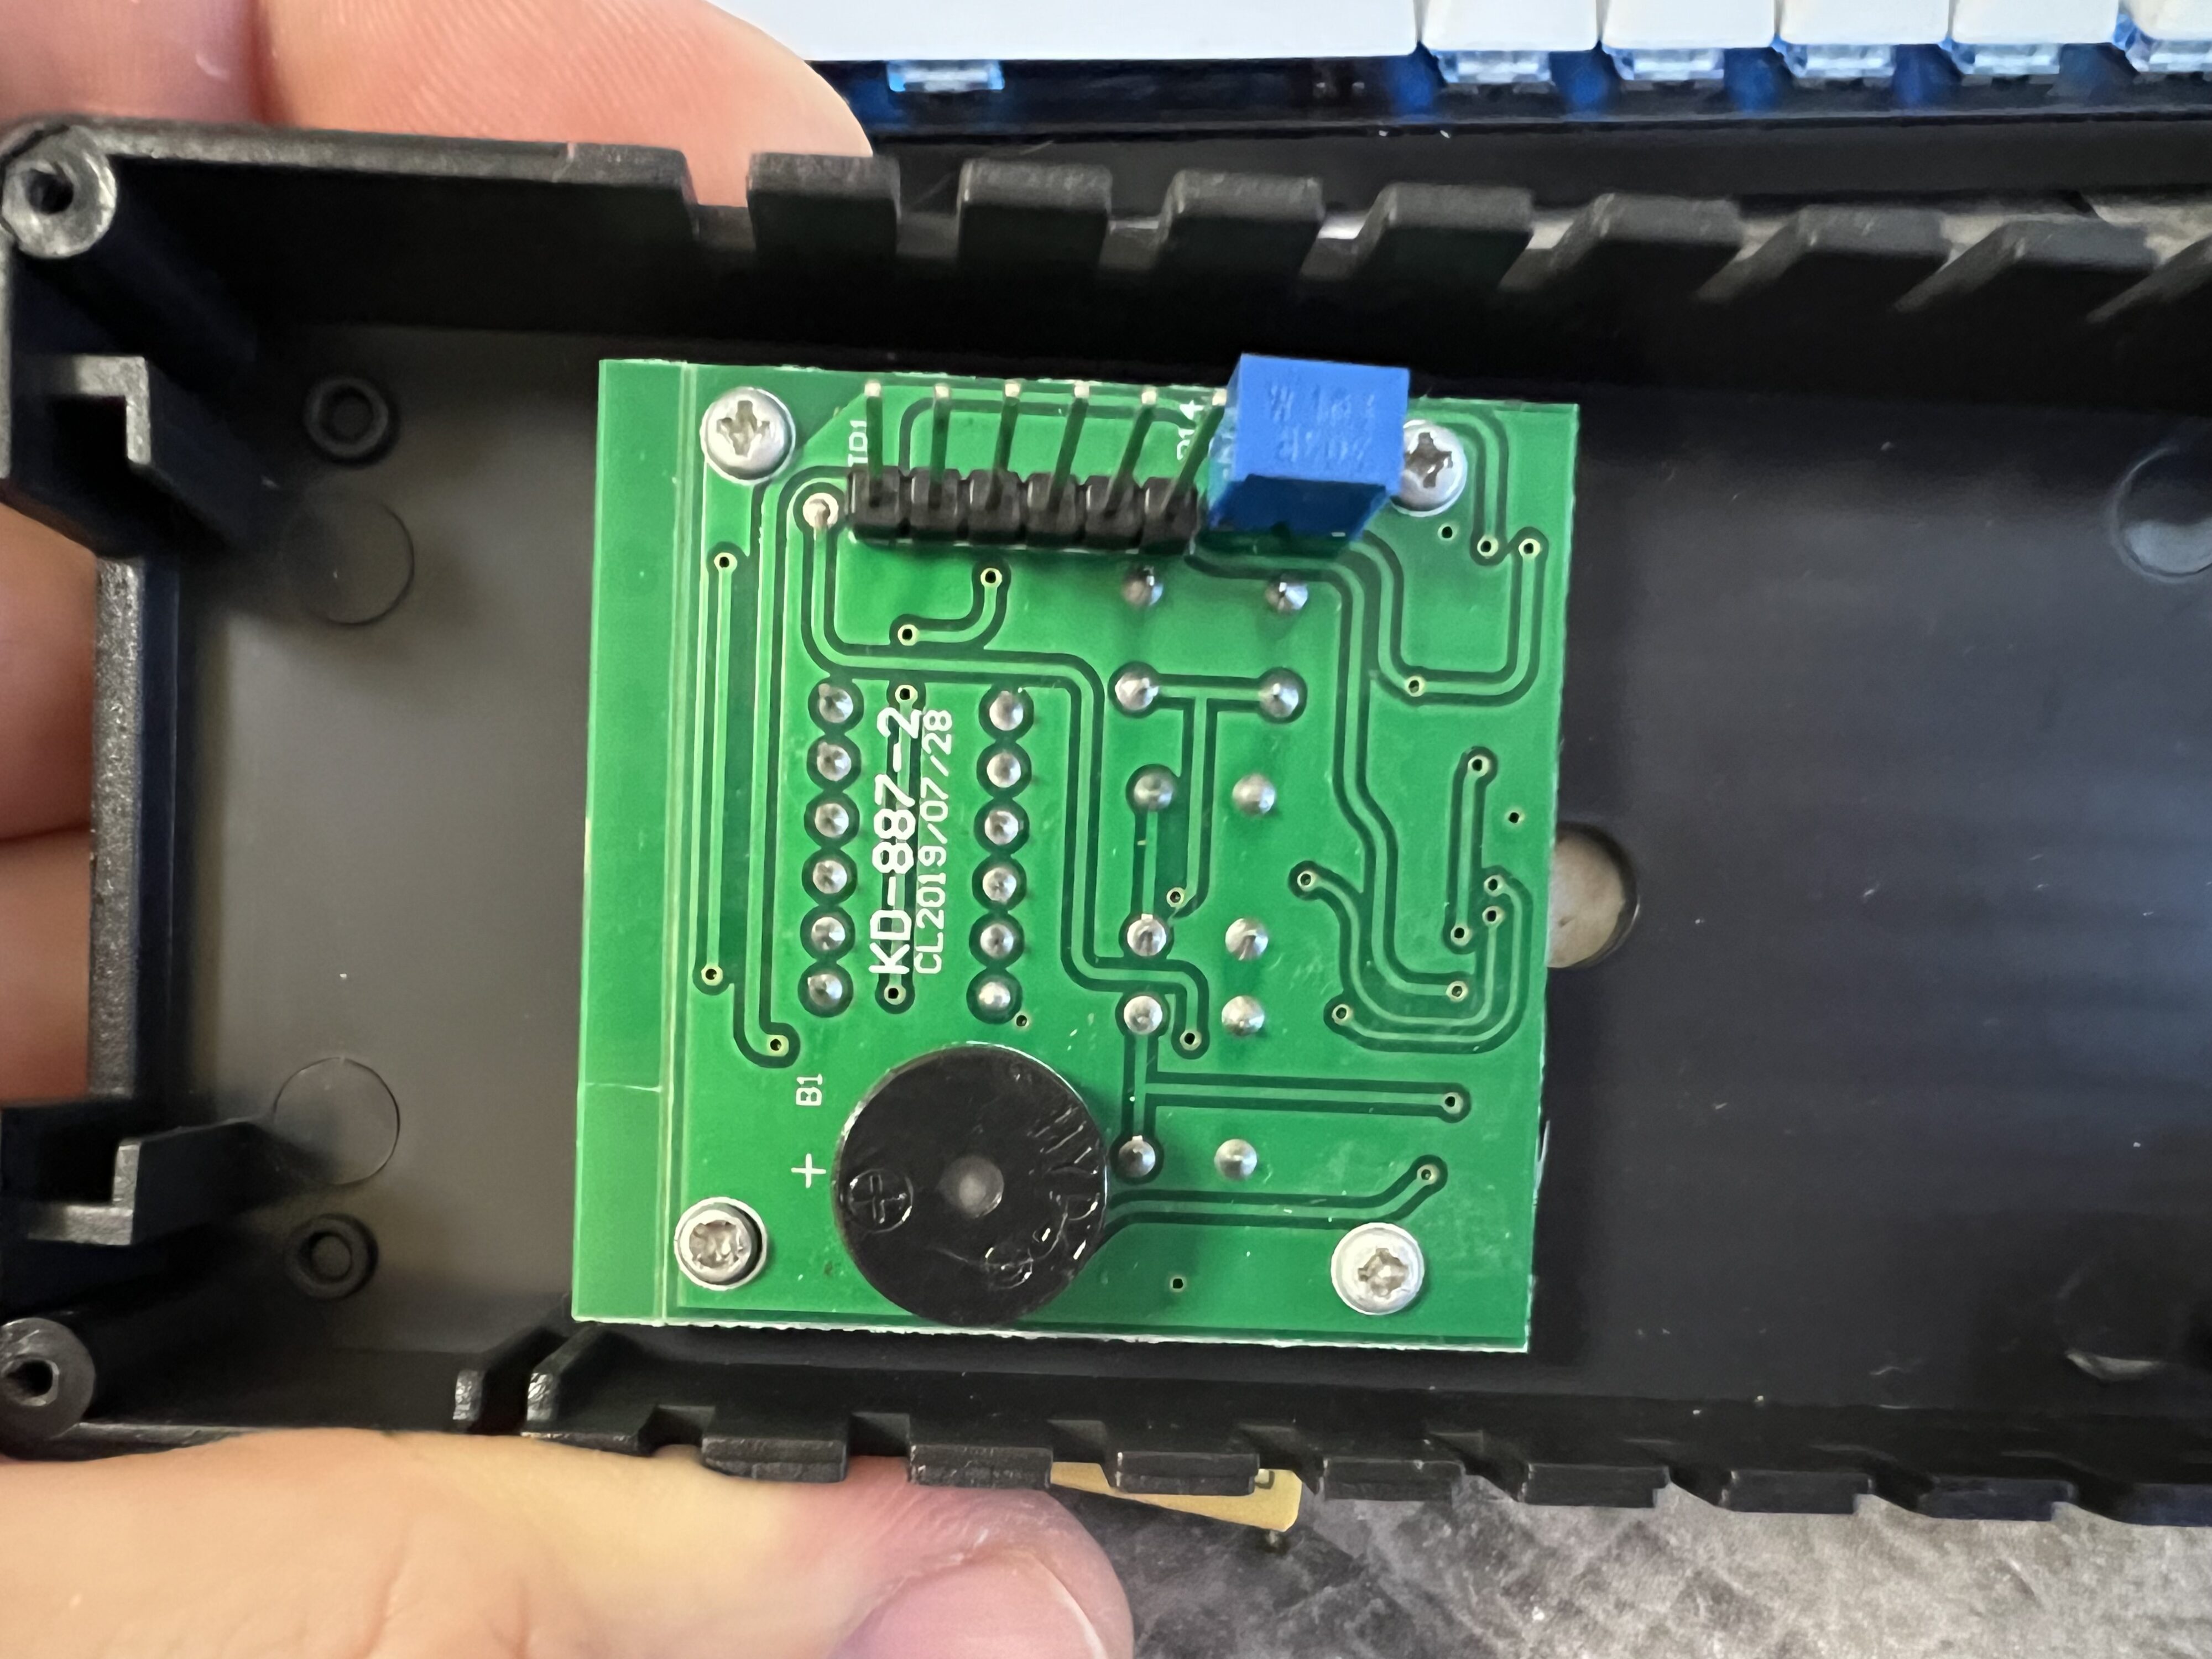
WTF, look at the screws. I’ve never disassembled it before.
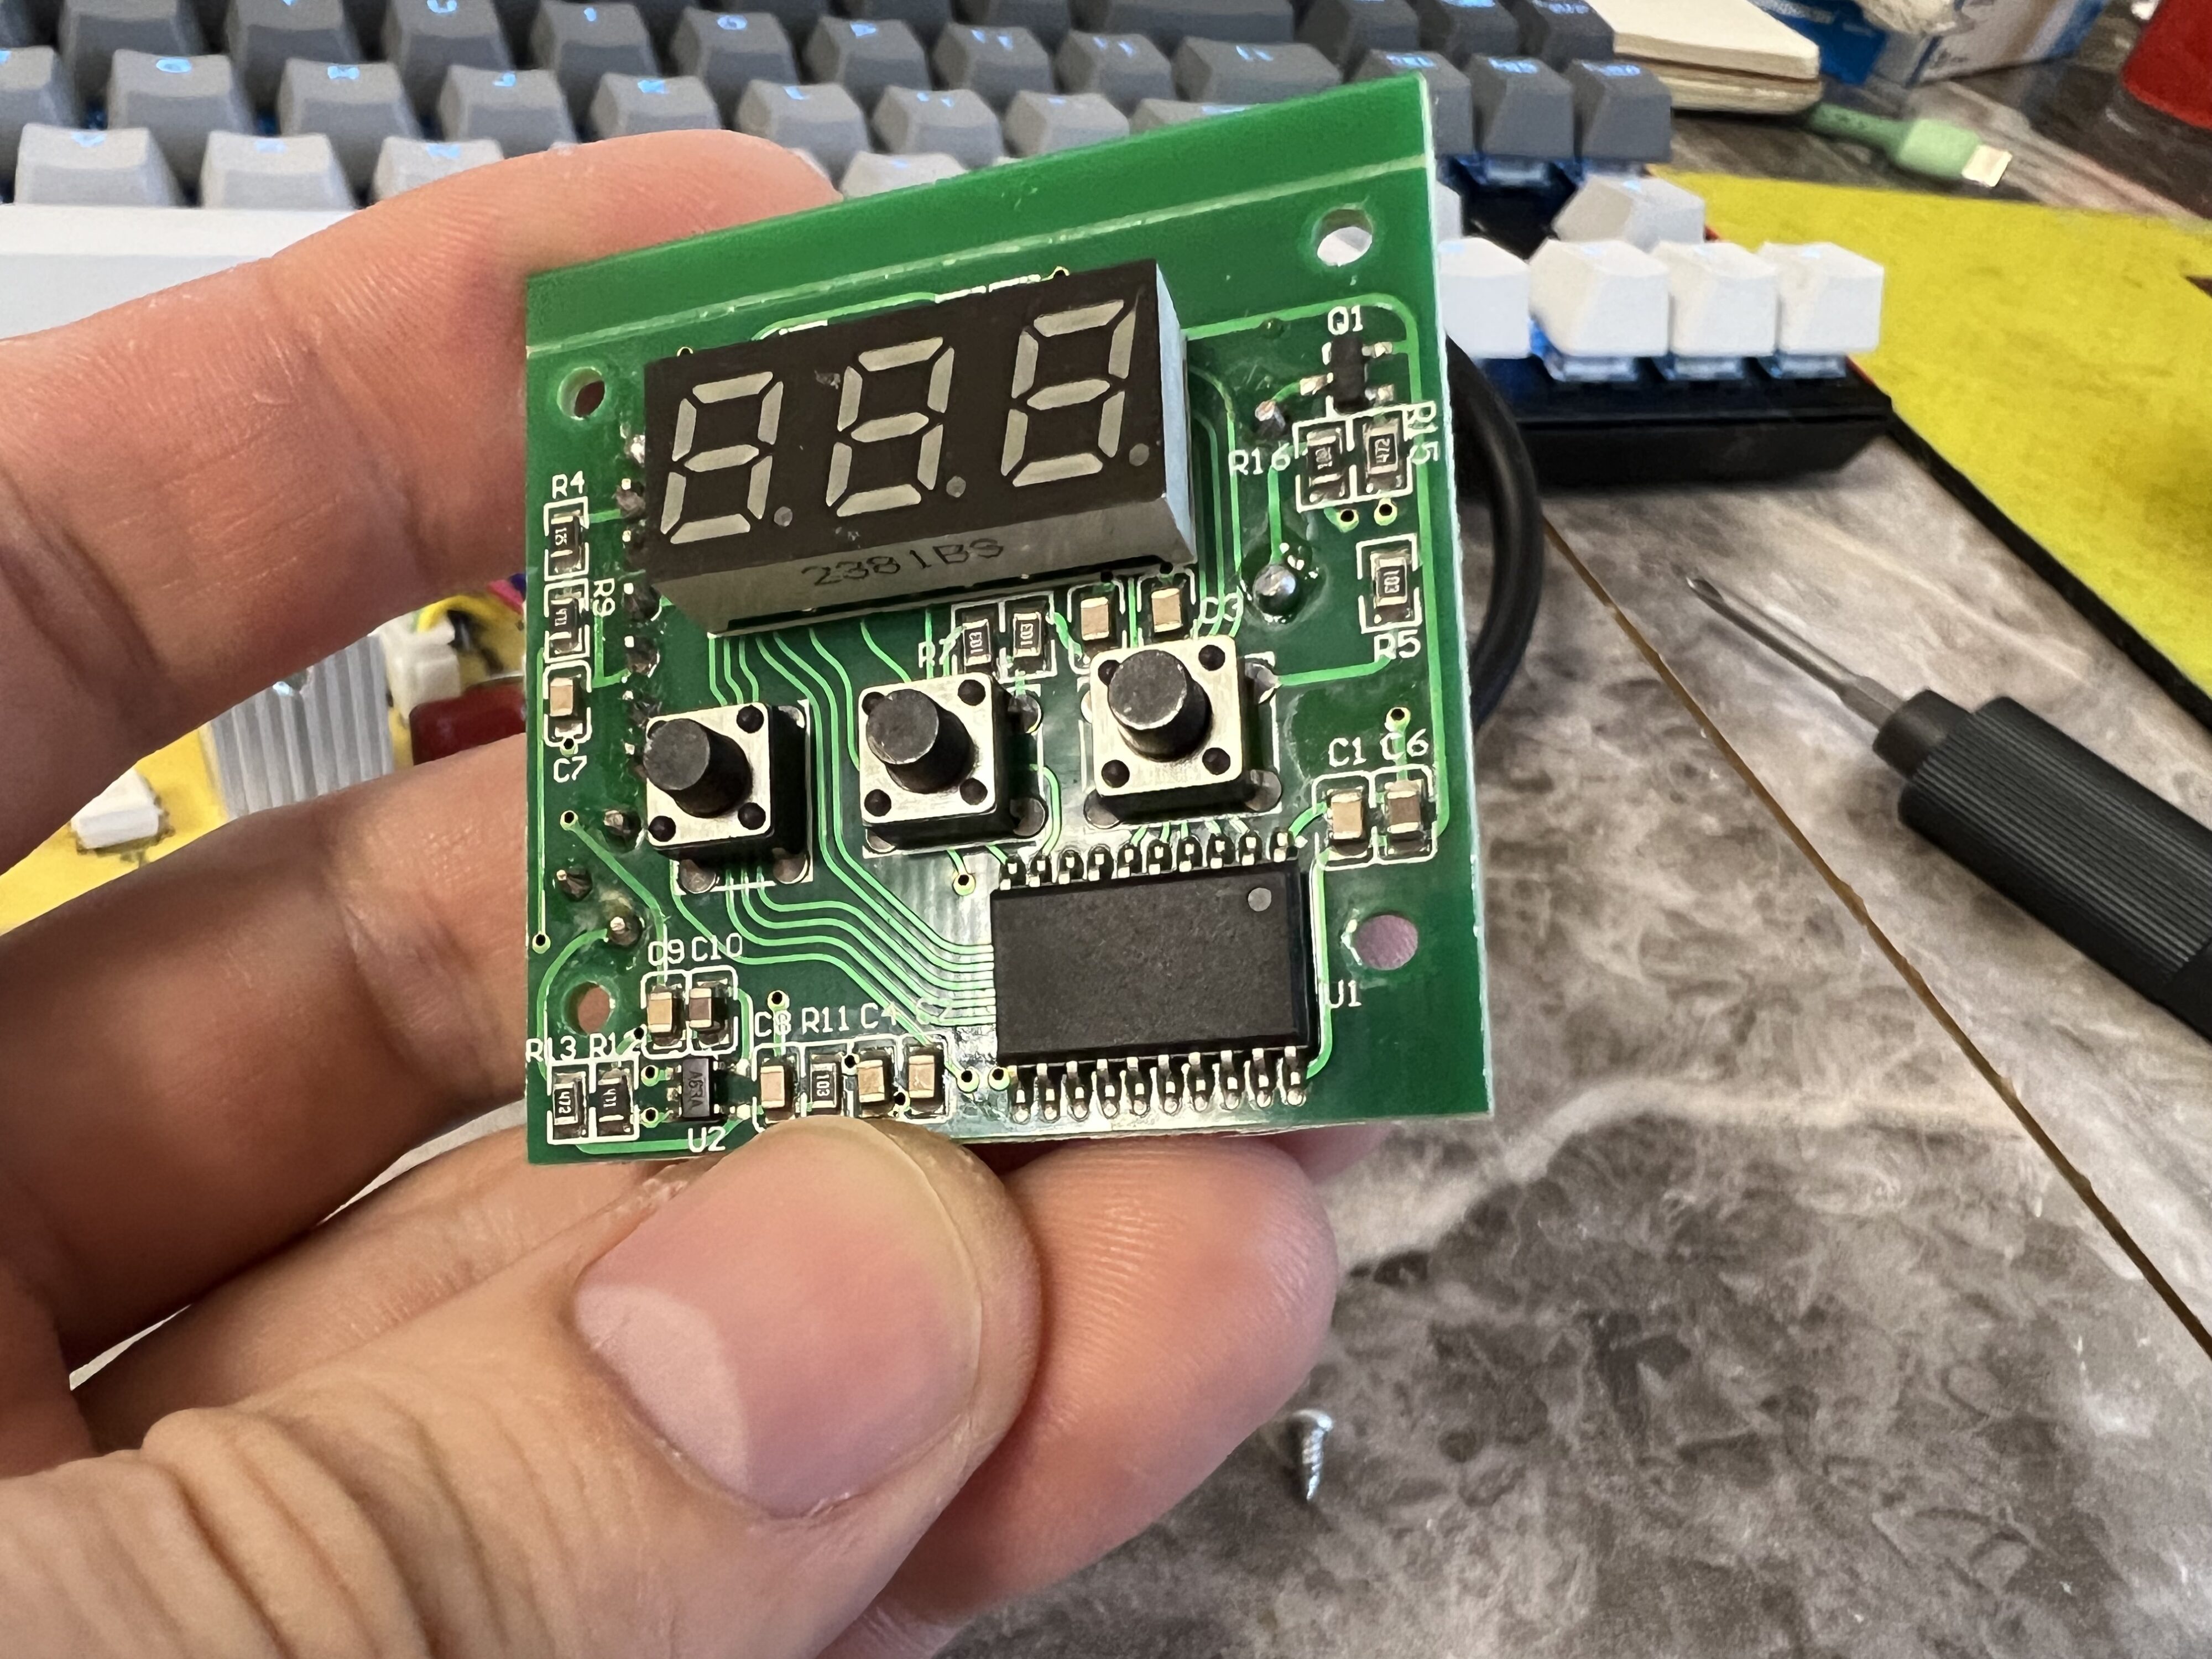
Erased label on controller…. so secret information 🙂 I bet it’s easy to find, but I don’t care.
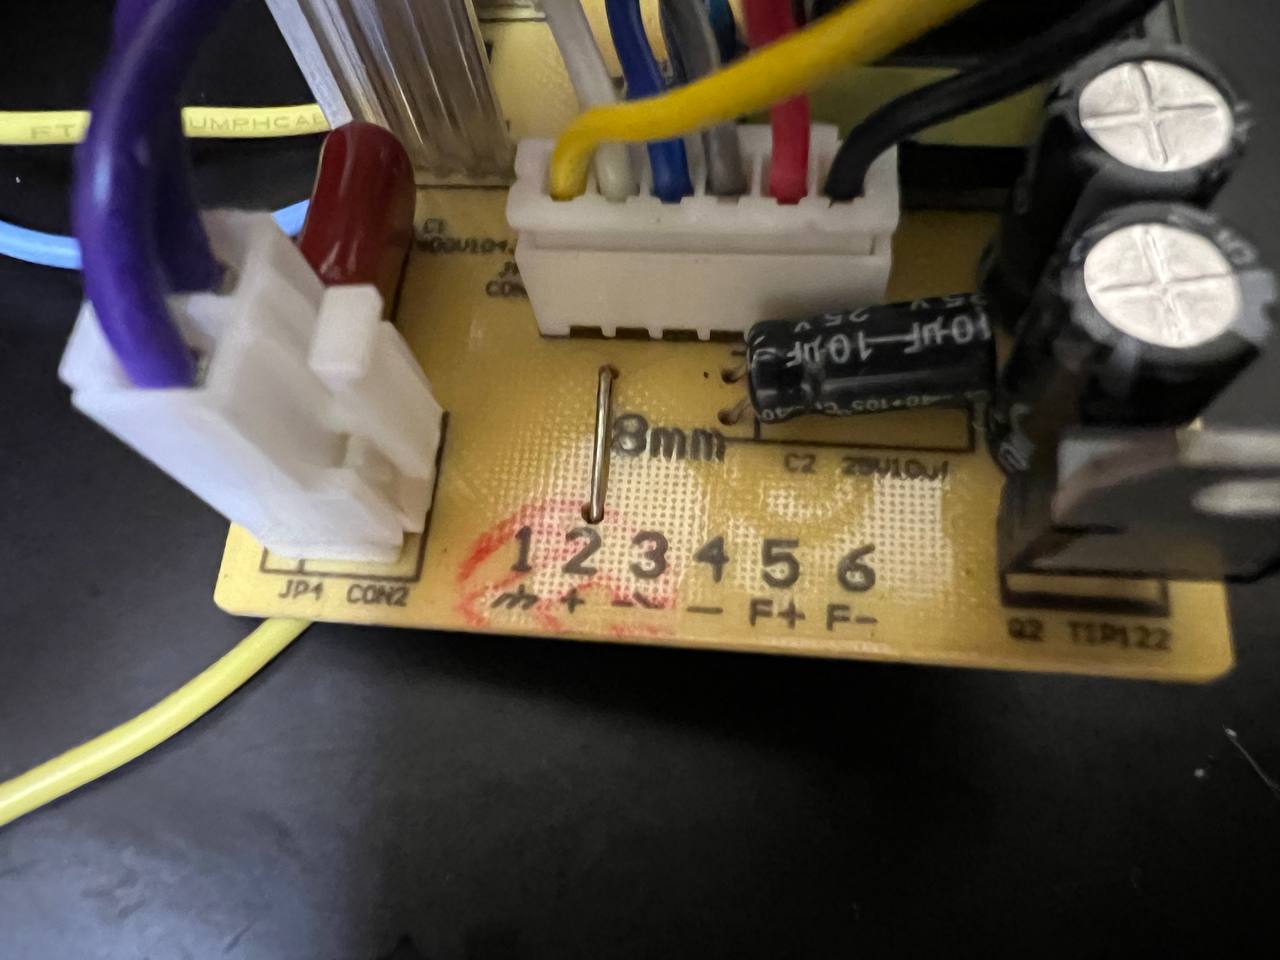
Pinouts (open image in separate tab to see):
Youtube video (russian):